Ever found that pesky drip in your RV’s storage compartment and thought, “Not again!”? Don’t worry; I’ve been there. After years on the RV trails, I’ve tackled this issue more times than I’d like to admit. But guess what? With every splash and spill, I’ve learned a trick or two.
Key Takeaways:
The most common cause of an RV storage compartment leak is worn-out seals. Regularly inspect and replace faulty seals, ensure proper caulking, and check the latch assembly for optimal prevention.
| Causes: | Fixes: |
| Location of Leak (Inside vs. Outside) | Identify if the leak is from the edge or deeper inside the compartment to determine the best course of action. |
| Above the Compartment | Check AC units, windows, or any other elements above the compartment. Ensure all are sealed right. |
| Heavy Rain | Examine the track on the slide-out. If not sealed tight, rainwater might find its way in. Ensure the compartment door seal is tight and appropriate. |
| Faulty Gasket | Ensure the gasket is not twisted, folded, or positioned with the joint at the top. Fix or replace if necessary. |
| Frame Seam | Check if the frame seam is in the middle of the top. Ensure the gasket doesn’t have a gap at that point. |
| Weak or Cracked Caulking | Regularly inspect caulking. If weak or cracked, reseal to prevent water ingress. |
| Latch and Striker Plate Issues | Ensure a snug fit. Adjust latch assembly and striker plate as needed. |
| Worn Out Seals | Replace or enhance existing seals. Use thick foam tape for a quick fix, or consider silicone-based sealants. |
| Door Misalignment | Adjust door hinges, tighten screws, or add additional latches to realign the door. |
| Internal Leaks | Inspect water lines, appliances, and drains. Address any condensation, misalignment, or worn-out parts. |
| Unidentified Source | Thoroughly check compartments for spills or items that might have tipped over. Clean and monitor. |
Disclaimer:
Due to the wide variety of RVs in the industry, We cannot provide personalized technical advice. Our information is intended for general educational purposes only and should not be construed as specialized technical advice for any specific situation. Any decisions made based on information provided by us are the sole responsibility of the individual. It is always recommended to seek additional advice from a professional before making any critical mechanical changes or repairs to the RV.
What’s Causing RV Storage Compartment Leaks? Here’s How To Know!
1. The Type of RV Matters.
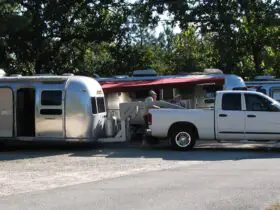
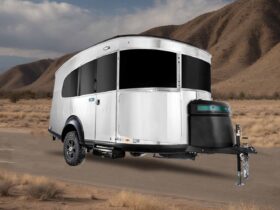
So, what kind of beast are you driving? An Airstream? A Class A motorhome? Different RVs come with various quirks.
For instance, a Class C might have more external storage compartments than a travel trailer. And with more compartments comes more potential trouble spots. You get it, right? So, knowing your RV type is essential when zeroing in on those tricky leaks.
For those new to the RV lifestyle, understanding the different types of RVs can be overwhelming. From travel trailers to Class A motorhomes, each type comes with its unique challenges. If you’re curious about the various RV classes and their features, check out our beginner’s guide, where we explain RV classes in detail.
2. Inside vs. Outside Location!
Okay, pay attention now. Where exactly is the leak? Is the water inside the storage area, or is it lurking around the rim of the compartment door?
Sometimes the culprit is right at the edge, while other times, it’s deeper in.
3. What’s On Top? Look Above.
Remember, the storage compartment sits at the bottom. So, think… What’s hanging out right above?
An air conditioner? If so, the water from the AC can drip down.
And if those compartment seals aren’t up to the task? Bingo! Water can seep right in.
And not just the AC. Got a window above? Perhaps that window isn’t sealed right, letting water creep down and test your compartment seals.
4. The Rain!
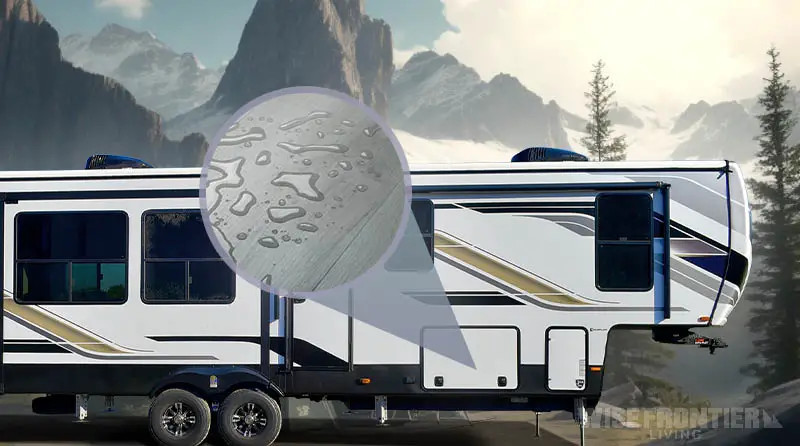
Did it rain cats and dogs last night? Heavy rain can challenge even the best seals.
But here’s the deal: could the rainwater be sneaking in via the track on the slide out?
For beginners, the slide-out is the part of your RV that, well, slides out. If it’s not sealed tight, rainwater might find a way in. And no RVer would like that.
For those wondering about maintaining the slide-out to its optimal performance, using the right lubricant is essential. Check out our guide on the best RV slide-out lubricant for a smooth transition and longevity to make the best choice.
5. Is That Gasket?
Have you checked the rubber gasket under the striker (? If it’s folded or twisted, it won’t seal right. And just like a bad umbrella, that means leaks.
Not to mention, if the gasket’s joint is sitting right at the top, water has an open invitation to join the party inside.
6. It’s All in the Frame.
Now, here’s a sneaky one. Sometimes the Frame has a seam right in the middle of the top. And if your gasket meets there? Even a tiny gap is a gateway for water.
7. Caulking Confusions.
Think of caulking as your RV’s shield against water. If it’s weak or cracked, water sneaks right in. Keep it strong, and your storage stays dry. Simple as that!
Regular lubrication is a vital aspect of RV maintenance. There are multiple areas that need timely lube to prevent wear and tear, as well as potential leakage problems. Find out more about RV lube maintenance and common areas that need lube.
8. Latch and Striker Plate.
Water has a way of sneaking into even the tiniest spaces. So, make sure your latch assembly and striker plate are on point. No compromises here!
Additionally, other sources of internal leaks can come from areas like the bathroom, especially if there’s a fault in the shower faucet. Discover how to solve a problem like an RV shower faucet leaking behind the wall with our step-by-step guide.
In a nutshell? Leaks can be sneaky, but they aren’t unbeatable. Take a systematic approach, consider every factor, and you’ll track down the culprit in no time. Let’s look at how you can solve the issue once you’ve identified the root cause.
How To Solve RV Storage Compartment Leak?
Faulty Seals – The Most Common Culprit.
Over time, seals can wear out or not do their job correctly. Sometimes, it’s just the age, or perhaps a rodent took a liking to it. So, what do you do?
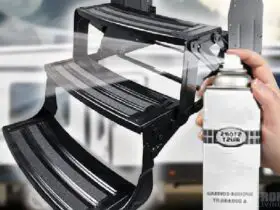
Getting into DIY Mode! Grab some thick foam tape and place it all around the door. This little trick helps improve the seal and is a quick fix if you’re on the road.
Also, you can grab a (silicone-based) sealant and apply it to the affected parts. Patch up any visible cracks or gaps. Remember, a little goes a long way!
Consider a complete seal replacement if yours is looking more worn out. After all, prevention is key!
Sometimes, those compartment doors become wonky, especially if they have been in use for a long time.
Pro Tip: Look into adjusting the door hinges or, if needed, installing additional latches. Sometimes, just tightening existing screws can pull the door back into alignment.
Door misalignment can often be due to hinges that need to be fixed. Using a high-quality lubricant specifically designed for RV door hinges can help in proper door operation and prevent misalignments.
Learn about the best lubricant for RV door hinges to ensure your door stays aligned and seals properly.
What If The RV Storage Compartment Leak Is From Inside?
A leak from inside? It can be confusing. But remember, your RV has various systems running within, and one of them might be the culprit.
Investigate Like an RV Pro
Grab a flashlight and inspect.
- Water lines – Do they run near the compartment? Is there any condensation or wet spots?
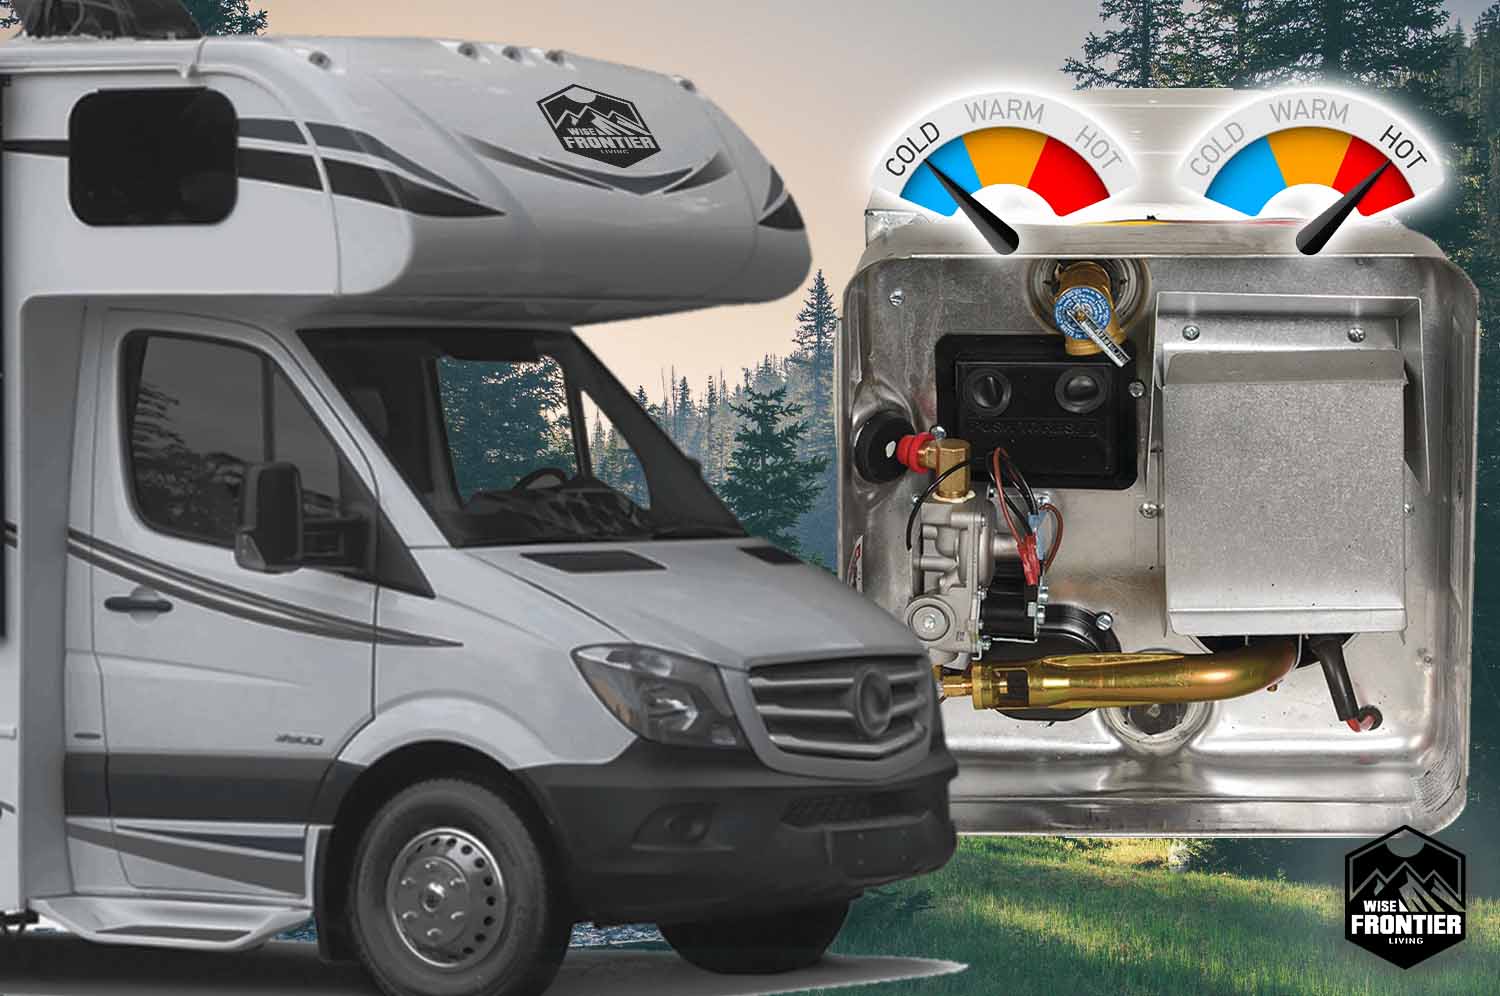
- Appliances – Is your water heater or any other device close to that compartment? Sometimes they might be leaking and causing problems.
- Drains – Drains can back up or leak. Check connections and overflow points.
Have you ruled out these suspects? Maybe it’s a spill! Did something inside the compartment tip over?
Side-Note: Sometimes, the leaks in the storage compartment can be traced back to the kitchen. Leaks underneath the RV kitchen sink can make their way to the storage areas, primarily if the storage compartment is located below or close to the kitchen. Learn more about how to tackle a leak underneath the RV kitchen sink.
Problem Spotted? Time to Fix the Issue:
So, you’ve spotted the problem. Now, how to solve it?
- Tighten – If it’s a loose connection or a misaligned drain, a simple tightening might do the trick.
- Replace – Worn-out parts or faulty appliances? It’s better to replace now than to face more significant issues down the road.
- Patch Up and Roll Out – Nine times out of ten, it’s that sneaky storage compartment door seal giving us grief. But here’s the good news: a fresh, well-sealed gasket can often be your hero. Lay it down properly, ensuring there are no gaps. And if you spot any other suspect areas? Grab that trusty caulk! Giving those spots a good seal can keep unwanted water at bay.
Tail End Tip: Don’t Skip This!
In short, RV storage compartment leaks can be a minor yet challenging issue on every RVer’s side. But with a systematic approach, identifying the source and implementing a solution becomes much more straightforward.
From checking your RV type to DIY solutions, there’s a fix for every drip, even drips coming from showerheads.. Remember, maintaining your RV isn’t just about extensive repairs; it’s about those minor tweaks and checks that prevent more significant issues down the road.
Up next? Join us as we dive deeper into more RV maintenance essentials. Because who knows what adventure – or problem – awaits around the next bend? Stay tuned!







Leave a Reply