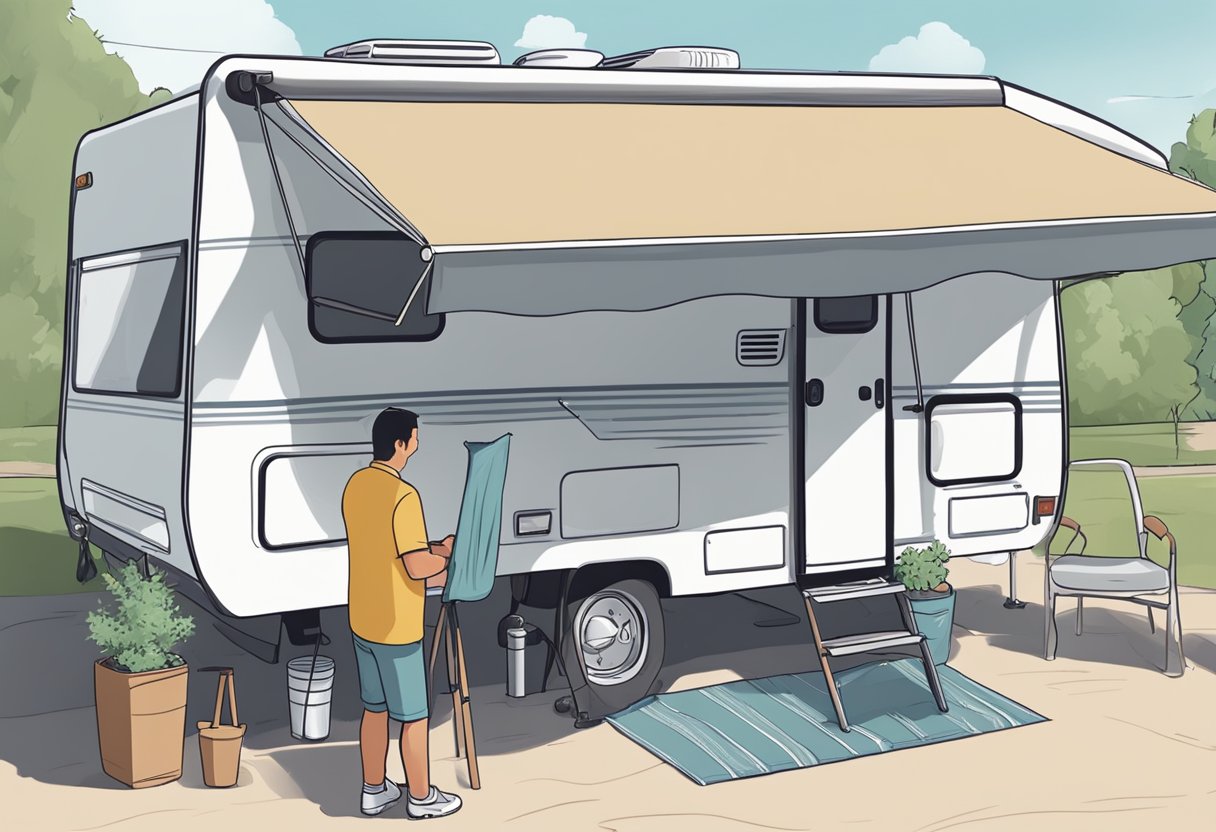
Awning damage can occur due to low-hanging branches, excessive wind, or normal wear and tear. It’s essential to assess the severity of the damage before proceeding with any DIY repairs. Additionally, equipping yourself with the right tools and materials is crucial for a successful and lasting repair job.
Key Takeaways
- Identifying and assessing awning damage is crucial before attempting repairs
- Proper tools and materials ensure a lasting DIY repair solution
- Regular maintenance is key to prolonging the life of your RV awning
Understanding RV Awning Damage and Wear
As an avid RVer, I’ve witnessed my fair share of awning damage and wear. In this section, we’ll dive into the different types of awning damage, the effects of weather on awning longevity, and tips for preventing mildew and mold.
Types of Awning Damage
From my experience, there are three common types of awning damage:
- Tears and rips: These can occur due to wind, sharp objects, or gradual wear over time. A repair guide I found suggests using awning repair tape to fix minor tears.
- Loose or broken hardware: The mechanisms that hold your awning in place can loosen or break with age, exposure, or improper use.
- Mildew and mold: These can form if you don’t allow the awning to dry completely before storing it, or if you clean it with corrosive cleaners.
Effects of Weather on Awning Longevity
As the years go by, your awning faces continuous exposure to the elements. Here’s how different weather conditions can affect its longevity:
- Sun: UV rays can fade the awning fabric and weaken its fibers, causing it to deteriorate over time.
- Wind: Strong gusts can cause rips and tears, or put a strain on the awning’s hardware, especially if it’s not properly secured.
- Rain and snow: Over time, exposure to moisture can cause mildew and mold, as well as damage the awning fabric.
Preventing Mildew and Mold
To prevent mildew and mold from forming on my awning, I follow these simple steps:
- Clean regularly: I use a soft brush and a mild soap solution to clean my awning, then rinse it thoroughly with clean water.
- Dry completely: Before rolling up the awning, I make sure it’s completely dry, since moisture can lead to mildew or mold growth.
- Use proper cleaning solutions: One source recommends a spray bottle with a 4:1 mix of water and dishwashing soap. For stubborn mold or mildew, a 10:1 mix of water and bleach can be used.
Assessing the Damage
Identifying Common Issues
Before starting any RV awning repair, I always carefully inspect the awning fabric to determine the extent of the damage. I look for small tears, large tears and any holes that might be present. It’s essential to examine both the underside and the top of the material for a thorough assessment. During the inspection, I also keep an eye out for any visible wear and tear due to age or sunlight exposure to understand its overall condition better.
When to Repair vs. Replace
I determine whether it’s appropriate to repair or if a replacement is required. Here’s a quick guide that I follow when making this decision:
- Small tear: Generally, if the tear is smaller than 2 inches, I find it easier to fix with adhesive tape or sewing the affected area. This can usually be a quick, inexpensive solution.
- Large tears: For larger tears, I consider utilizing an awning repair kit. These kits typically include fabric patches, adhesives, and other materials needed to fix the damage. It’s crucial to ensure that I choose the correct type of repair kit to match the awning fabric, whether it’s vinyl, acrylic, or canvas.
- Holes: If the awning exhibits multiple holes spread across the fabric or if damage is beyond repair, I recommend consulting the manufacturer about the potential cost of a replacement awning. Replacing an awning is often a last resort due to the higher cost involved.
Tools and Materials for DIY Awning Repair
When it comes to repairing your RV awning, having the proper tools and materials on hand will help you save time, effort, and money. In this section, I’ll be discussing the essential items needed for a successful DIY awning repair.
Choosing the Right Repair Tape and Patches
The first step in awning repair is selecting the right repair tape and patches for the job. Awning repair tapes are available in a variety of materials, but the two most common types are fabric and clear plastic. Fabric tape is typically more durable, while clear plastic tape provides a discreet solution. Awning repair tapes are specifically designed to work with RV awning materials and have strong adhesion to handle various weather conditions.
For larger tears or areas that need extra support, patches can be used to reinforce the repair. Make sure to choose a patch material designed for the type of awning fabric you have, whether it’s vinyl or acrylic. In some cases, an awning repair kit may be more convenient, as it includes both tape and patches in one package.
Essential Tools for Awning Repairs
In addition to repair tape and patches, here’s a list of essential tools and supplies to help you tackle your DIY awning repair:
- Scissors: For cutting tape and trimming patches to size.
- Ruler: To measure and ensure proper alignment of the repair materials.
- Rag: For cleaning the awning area before applying adhesive.
- Rubbing alcohol: To further clean and remove any residue from the awning surface.
- Adhesive or glue: For securing patches to the awning. Ensure the adhesive is compatible with your awning material.
- Gorilla tape: A heavy-duty tape that can be used as an alternative to awning repair tape, providing strong adhesion and durability.
Step-by-Step RV Awning Repair Process
Cleaning the Awning Before Repairs
Before I start repairing my RV awning, I carefully clean it to ensure the repair materials adhere well. I use a gentle soap and water solution to wash both sides of the awning fabric. After washing, I don’t forget to rinse off all soap and let the awning dry completely, otherwise mold and mildew might sneak in.
Patching Small Tears and Holes
If I find small holes or tears in my awning fabric, I can usually fix them with a repair kit designed for awning materials. I first cut a patch of the correct size and shape to cover the damaged area, adding about an inch of extra material around the edges for better coverage. After applying adhesive (included in the kit), I firmly press the patch onto the hole or tear and wait for the adhesive to dry before rolling up the awning. Overall, it is essential to follow the RV awning repair kit instructions precisely.
Addressing Larger Damage
For larger holes or more significant damage, I might need to consider a more extensive repair or even a full awning replacement. If I opt for a professional repair service, they might sew in new sections of fabric or use heavy-duty adhesive patches. However, if the damage is too extensive or the awning is nearing the end of its lifespan, it’s sometimes best to replace it altogether.
By regularly inspecting and maintaining my RV awning, I can avoid future damages and costly repairs. Spending some time patching small tears and cleaning my awning will ensure that it stays in good condition for many adventures to come.
Maintaining Your RV Awning After Repairs
Continued Care and Cleaning Tips
After repairing any tears in your RV awning, it’s essential to keep it clean and well-maintained to avoid future damage. I recommend using a gentle soap and water solution to clean the awning regularly. An extendable brush can make the task easier and more effective, especially when reaching underneath the awning.
It’s best to let the awning air dry as using heaters may cause damage, and the water temperature should be below 100 degrees Fahrenheit. While cleaning, it’s also crucial to check awning seals, ropes, and arms to ensure they are in good working order. Applying the appropriate lubricants to your RV awning can help it operate smoothly and extend its life.
Preventative Measures to Avoid Future Damage
In addition to regular cleaning, several measures can be taken to prevent further damage to your RV awning. One helpful tip is to retract the awning in high wind or bad weather conditions to avoid any undue strain or tearing. Always use the proper travel lock to keep the awning secure and in place during transit.
Slide-out awnings also require attention, and using the best RV slide-out lubricant can ensure a smooth transition and enhance their longevity.
It’s also important to perform regular RV lube maintenance on various components to keep your vehicle functioning optimally. This will not only help prolong the life of your awning but also other essential parts of your RV.
By following these care and maintenance tips, I’m confident that you can significantly prolong the life of your RV awning and avoid any costly repairs or replacements in the future.