If you’ve been around long enough to reminisce about the days of the Commodore 64, brace yourself for a shocker. That signature yellow tint wasn’t by design—it was more of an “age spot” for electronics.
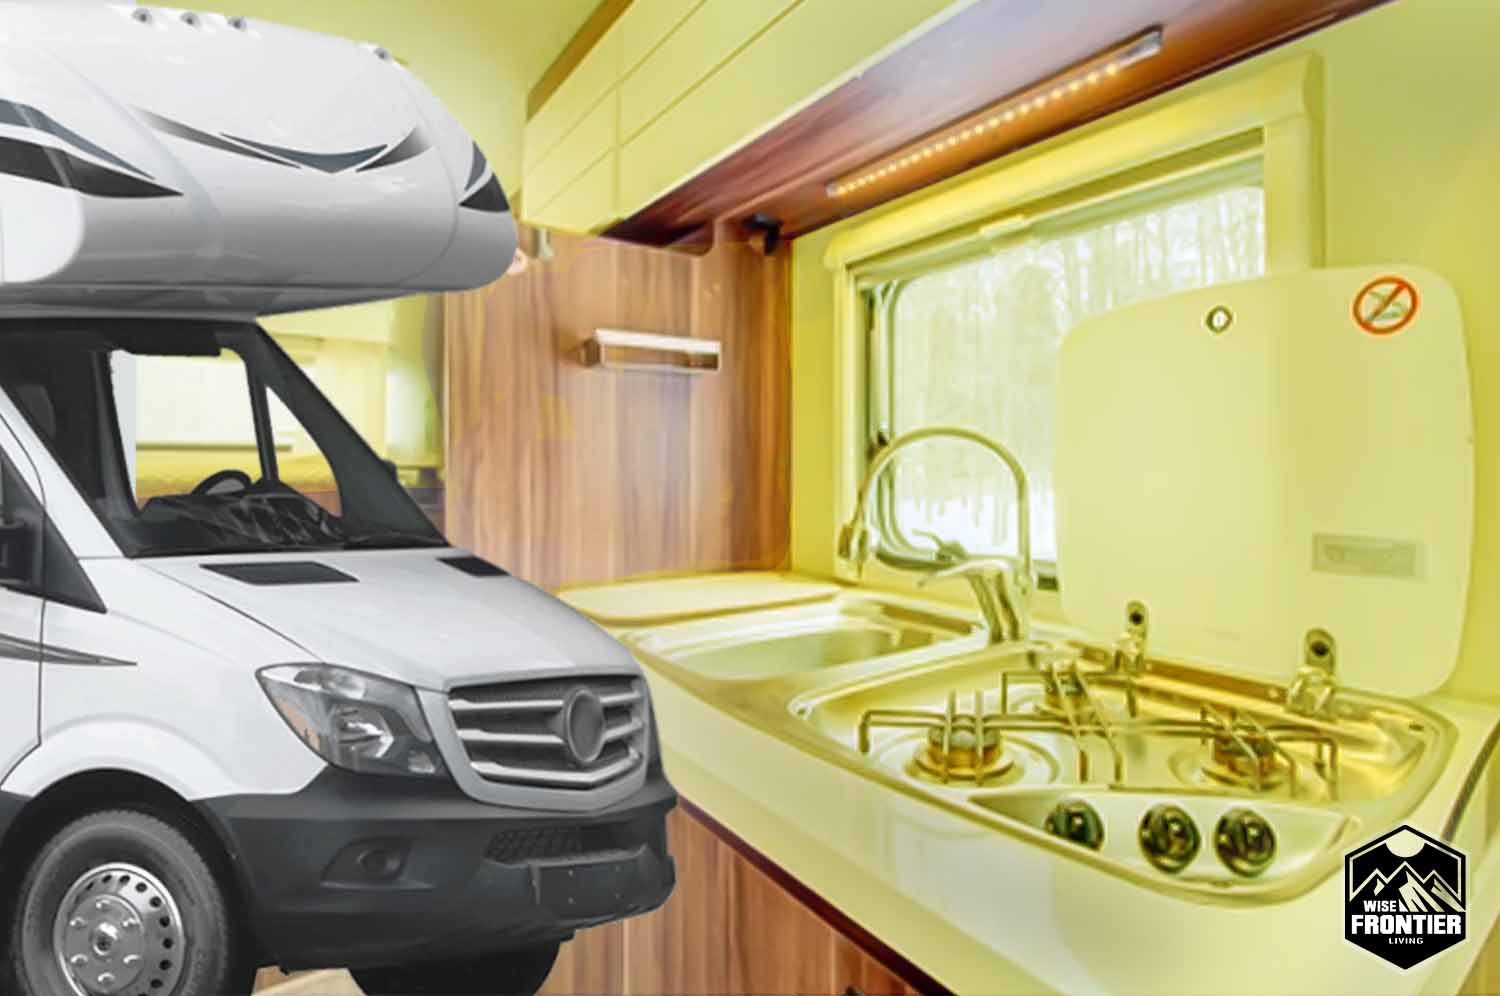
Likewise, your RV’s plastic parts may also develop their own uninvited golden years, morphing into shades of yellow over time.
RV plastic turns yellow primarily due to prolonged exposure to sunlight. Fortunately, there are several ways to solve this problem. You can paint the surface, use plastic-specific cleaners and scrubbers, or apply the Salon Care 40 treatment.
This post will discuss what RV plastic is made of, why it turns yellow, how to clean it, and prevention tips to keep it looking its best.
How To Clean & Prevent Yellowing of RV Plastic
Watch this video to fully understand the process of turning yellow plastic to white using the Salon Care 40 treatment:
1. Identify & remove Yellowed Plastic Parts
Your first mission is to identify the spots that need your tender, loving care. This could include appliances, trim, ceiling fans, and other miscellaneous areas. Remember, this isn’t a mystery novel; the yellowing is primarily due to sun damage and aging, not just your culinary adventures or indoor smoking habits. Remove any parts that can be removed safely that are held on by screws and clips. Be careful not to damage items held on by clips.
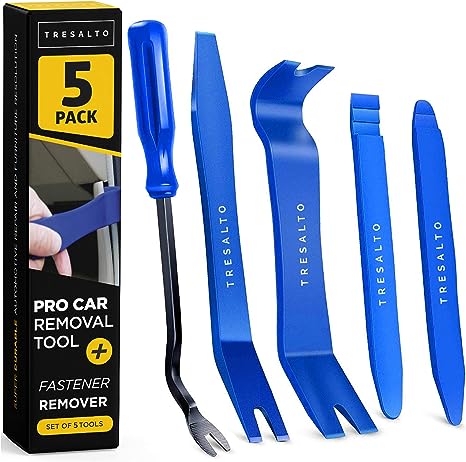
Auto Trim Removal Tool Kit
2. Initial Cleaning
Before resorting to stronger methods, start by cleaning the yellowed areas with a mixture of warm water and mild detergent. Avoid harsh chemicals as they can exacerbate the yellowing or even damage the plastic. This removes the initial layer of dirt and oils.
3. How to Use Salon Care 40 To Whiten RV Plastic Parts
Table: Tools & Supplies
| Tools and Supplies | Purpose |
|---|---|
| Salon Care 40 | The active whitening agent |
| Saran Wrap | To cover the treated areas |
| Medium-Sized, Flat Paintbrush | For applying Salon Care 40 |
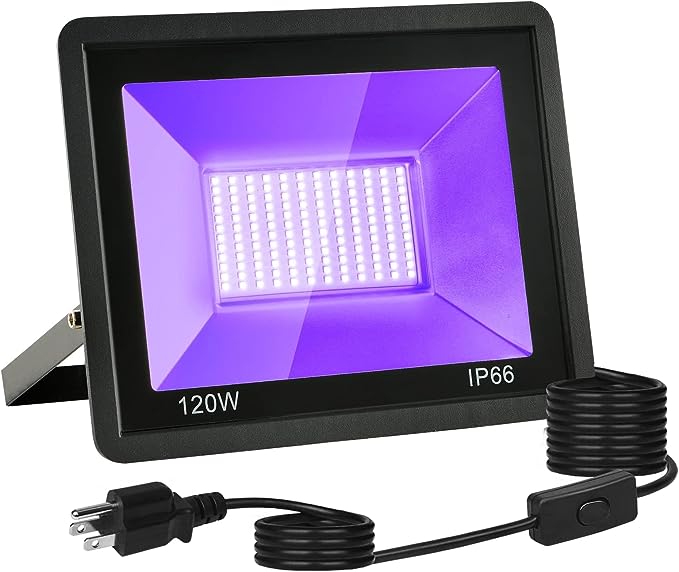
| UV Light | To accelerate the whitening process |
| Gloves | For your safety while handling Salon Care 40 |
| Mask | Safety measure to avoid inhaling fumes |
| Plastic Sheeting or Newspaper | To protect your workspace |
Steps for Salon Care 40 Treatment:
- Safety First: Always wear gloves and a mask when handling Salon Care 40.
- Test Patch: Choose an inconspicuous area to apply a small amount of Salon Care 40, ensuring it won’t cause additional damage.
- Prepare Your Workspace: Place plastic sheeting or newspapers to protect your workspace.
- Brush It On: Use a medium-sized, flat paintbrush to apply a generous coating of Salon Care 40 to the yellowed areas.
- Wrap It Up: Use Saran wrap to cover the Salon Care 40-coated plastic. This keeps the cream from drying out.
- Let It Sit: Allow the treatment to sit for 4-6 hours depending on the extent of yellowing.
- UV Light Acceleration: To expedite the whitening process, expose the treated, wrapped parts to UV light. This helps activate the Salon Care 40 more rapidly. Keep the UV light at least 6-12 inches away from the treated area and monitor for changes.
- Check Progress: Periodically remove the UV light and inspect the plastic. If the yellowing has lessened, you’re on the right track!
- Wash Off: Remove the Saran wrap and thoroughly rinse the plastic with water to remove all traces of Salon Care 40.
- Reapply if Necessary: If the yellowing persists, you may need to repeat the process.
- Reassemble: Once all parts are dry and you’re satisfied with the new color, put everything back together.
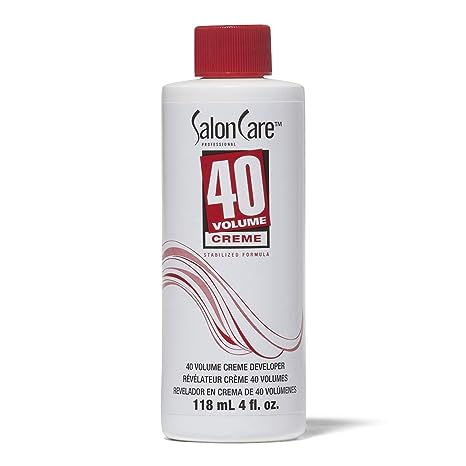
Salon Care 40 Treatment
Post name
5. Repainting the Plastic
If you want a more permanent solution, consider repainting the plastic using a specialized paint for plastics like Krylon Fusion (link to Amazon) for plastic white. This paint is designed to bond to plastic surfaces and provides a permanent white finish that will not yellow over time.
Why Does RV Plastic Turn Yellow?
Sunlight exposure is one of the main reasons why RV plastic turns yellow. UV radiation from the sun breaks down the plastic’s molecular structure, causing it to degrade and change color.
Additionally, dirt and grime can accumulate on the plastic’s surface, further exacerbating the yellowing process.
Prevention Tips
Prevention is always the best course of action when it comes to keeping RV plastic looking its best. Here are some tips to help you avoid yellowing and other forms of discoloration:
Keep your RV out of direct sunlight as much as possible. When you park your RV, try to find a shaded area or use a canopy or cover to protect it from the sun’s UV rays.
Clean your RV plastic regularly to remove dirt and grime before it can accumulate.
Use UV protectant sprays or products specifically designed for RV plastic. These products can help prevent yellowing and other forms of discoloration. For instance, you can check out this UV protectant spray available on Amazon. Apart from plastic, it works on vinyl, leather, and fiberglass materials. It helps prevent objects made from those materials from fading due to UV damage.
Avoid using harsh chemicals or solvents on your RV plastic. Stick to mild, gentle cleaners that won’t damage the plastic’s surface.
Other Areas to Consider:
In addition to cabinets and fixtures, other areas of your RV that may have plastic components include the walls, ceiling, and bathrooms. To keep these areas looking their best, follow the same cleaning and prevention tips outlined above.
Use mild cleaners and avoid harsh chemicals or abrasives. Additionally, be sure to keep the bathroom well-ventilated to reduce humidity levels and prevent mold and mildew growth.
RV plastic is an essential component of your home on wheels. While it may be prone to discoloration, with proper care and maintenance, you can keep it looking great for years to come.
By following the cleaning and prevention tips outlined in this post, you can keep your RV plastic looking its best and enjoy your travels with peace of mind.
What Is RV Plastic Made Of?
RV plastic can be found in various parts of an RV, such as the appliances, trim, ceiling fans, and other fixtures. These plastics are designed to withstand the harsh conditions of the road, such as temperature changes and exposure to sunlight. The type of plastic used in an RV may vary depending on the part and its intended use.
Polyethylene, for example, is often used in water tanks and plumbing because of its ability to withstand high temperatures and chemical exposure. Polypropylene is commonly used in RV battery boxes, while polystyrene is often used in insulation.
In addition to the aforementioned materials, other types of plastic may also be used in RV construction, such as ABS (Acrylonitrile Butadiene Styrene) and PVC (Polyvinyl Chloride).
ABS is a thermoplastic known for its toughness and impact resistance, making it a popular choice for components that are subject to wear and tear, such as RV bumpers and trim. PVC, on the other hand, is a flexible plastic that is often used in RV plumbing systems because of its resistance to chemicals and temperature extremes.
Not all RV plastic is created equal, and the quality and durability of the material can vary depending on the manufacturer and the intended use.
Some RV manufacturers may opt for lower-quality plastics to cut costs, while others may use higher-grade materials that are more resistant to UV damage and discoloration.
Suggested Read: Interactive Map of US National Parks






Leave a Reply