The secret to a successful RV bathroom upgrade lies in careful planning and selecting the right enhancements that align with your lifestyle. Consider the spatial constraints, the practicality of each change, and how the renovation will improve your time on the road.
The possibilities are vast, whether it’s improving lighting and ventilation for a fresher environment or adding decorative touches for a more homely feel. Upgrading your RV bathroom increases satisfaction with your mobile home and contributes to the RV’s resale value, making it a worthy investment.
Key Takeaways
- Upgrading your RV bathroom can personalize your space and improve travel comfort.
- Careful selection of enhancements can cater to both aesthetic and practical needs.
- Strategic upgrades have the potential to increase the overall value of your RV.
Assessing Your RV Bathroom Needs
When embarking on RV upgrades, it’s crucial to examine the bathroom’s current setup and your personal requirements. This section digs into how to make the most out of your space, balance function with design, and infuse your style into the bathroom.
Space Optimization
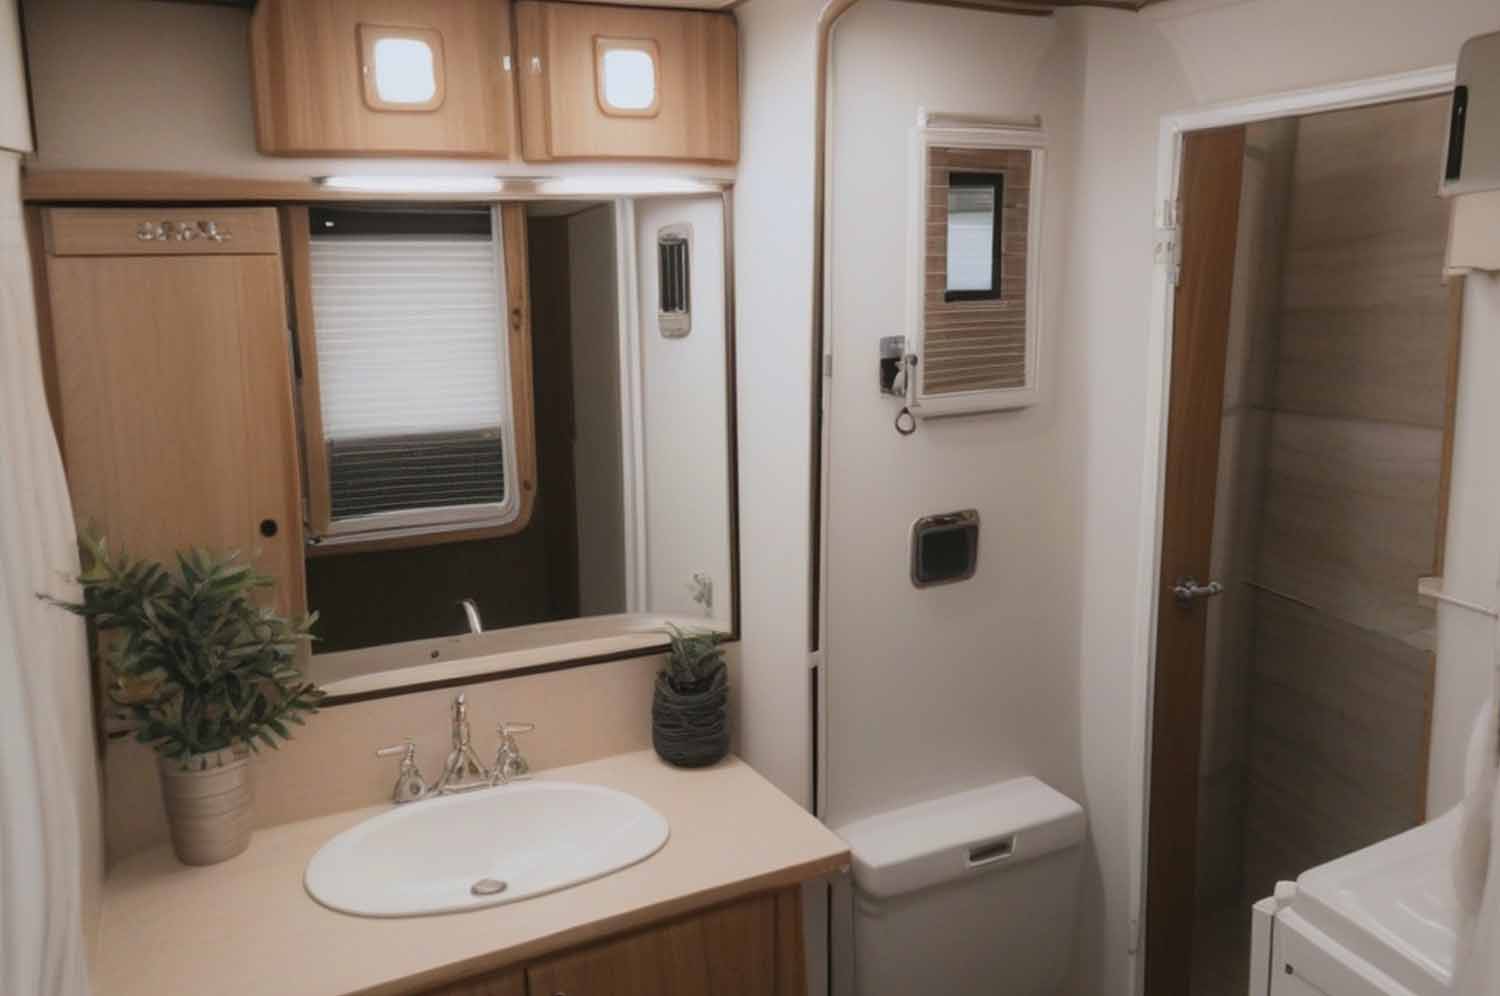
In a confined environment like an RV, maximizing space is paramount. I assess every inch of the bathroom, looking for ways to improve storage and maintain functionality. Vertical solutions and multi-purpose fixtures can transform the area, ensuring essentials are within reach without cluttering. Considering RV showers are elevated, utilizing the space beneath for storage can be a smart move.
Functionality vs. Aesthetics
It’s a juggling act between making the bathroom beautiful and keeping it practical. I always suggest high-efficiency toilets to conserve water, especially since understanding how long water lasts in an RV is crucial. I balance sleek design with durable materials that withstand the rigors of travel, ensuring that style serves a purpose.
Personal Style Considerations
My bathroom is my sanctuary, so infusing my personality into its design is non-negotiable. From choosing a color palette to selecting fixtures that reflect my style, these choices make the space uniquely mine. Yet, I never compromise on comfort, ensuring that aesthetics enhance the room’s welcoming ambiance and functionality.
Choosing the Right Fixtures
When personalizing your RV bathroom, selecting the right fixtures is critical to enhance functionality while conserving space.
Upgrade Compatible Toilets
I consider the toilet an essential upgrade in an RV bathroom for reliable operation and comfort. Plastic toilets are common, but switching to a porcelain model offers a more residential feel and durability. Compatibility with existing plumbing is vital to ensure a secure installation.
Space-Saving Sinks
Sinks must be efficient in their use of limited space. I recommend compact designs that integrate storage solutions. Sinks with adaptable plumbing like home kitchen faucets fitted in an RV add more versatility and durability. Also, monitoring for issues such as a leak underneath the kitchen sink is essential to prevent water damage.
Shower Modifications
I suggest using handheld showerheads to maximize limited space and adding water-saving nozzles to manage your water supply efficiently. It’s crucial to regularly check the integrity of the shower pan to avoid water leakage, which can lead to significant repair costs if not addressed promptly.
Storage Solutions for Convenience
In any RV, space is at a premium, and finding smart storage solutions is key to maintaining both convenience and comfort on the road. Let’s look at some specific ways to enhance your bathroom storage.
Creative Cabinetry
I’ve found that well-designed cabinetry can transform an RV bathroom from cluttered to chic. Consider installing a slimline cabinet to utilize narrow spaces, or if you’re adept at DIY, building custom storage units that fit the unique dimensions of your RV can provide tailored solutions.
Organizers and Accessories
Drawer dividers and cosmetic organizers can neatly stow away your bathroom essentials. For instance, a 4-drawer vanity organizer is perfect for keeping smaller items such as hair supplies and jewelry compartmentalized and accessible, contributing to a tidier space.
Maximizing Vertical Space
Using the walls can significantly increase your storage potential. Hanging toothbrush holders or shower caddies can free up counter space, and installing shelves above the toilet provides a handy place for towels or baskets, turning previously unused areas into practical storage spots. Remember, leveraging vertical space is a smart way to keep your bathroom organized without compromising on the available area for daily routines.
Lighting and Ventilation Upgrades
Upgrading lighting and ventilation in your RV bathroom can transform it into a more comfortable and efficient space. Let’s explore the specifics of how enhanced lighting fixtures and ventilation systems can be implemented.
Enhanced Lighting Fixtures
I understand the importance of good lighting in a small space such as an RV bathroom. Introducing LED lights not only conserves energy but also provides a bright, clean light that can make the bathroom appear more spacious. Swapping out old fixtures for new, sleek designs can remodel the look of the space. Lighting is not just functional but can also set the mood with options like dimmable controls or multicolored LEDs for personalization.
Ventilation Systems
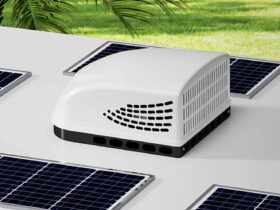
Proper ventilation is crucial for managing moisture and odors in the confined spaces of an RV. A well-maintained vent pipe is essential for the system’s effectiveness, and knowing how to tell if your RV vent pipe is clogged is a key part of RV maintenance. If you’re noticing issues with ventilation, consider checking whether the vent pipe is obstructed and taking actions to clear it. For sustained airflow and to prevent moisture build-up that can lead to mold, installing upgraded fans and vent covers can make a significant difference, keeping the air in your RV fresh and clean.
Decorative Touches and Finishes
In an RV, the bathroom may be small, but it holds immense potential for personalization. Focusing on decorative touches and finishes can transform this compact space into a reflective and unique part of your home on wheels.
Wall Décor and Coverings
Choosing the right wall coverings is essential in setting the mood for my RV bathroom. I prefer to use a combination of paint and wallpaper that can withstand the humidity and movement. Recently, I’ve learned how to rejuvenate spaces by applying a fresh coat of paint to a dated plastic sink, giving it a modern touch that can surprisingly alter the look and feel of the room.
Flooring Options
The flooring in my RV’s bathroom needs to be durable, water-resistant, and easy to clean. I consider luxury vinyl tile a great option as it comes in various designs and is simple to install. If my floor starts to show its age, I have found that adding interlocking tiles could be an effective and attractive way to update the appearance without major renovations.
Hardware and Accents
Updating hardware like faucets, showerheads, and door hinges is a way to add both functional and aesthetic upgrades to my bathroom. I ensure that each component, including the door hinges, is well-maintained and properly lubricated to prevent squeaking and resistance, preserving the serene ambiance. Decorative hooks, towel bars, and cabinet pulls can also make significant visual impacts, turning utilitarian objects into elements of style.
Professional Installation vs. DIY
Deciding between professional help or taking the DIY route for an RV bathroom upgrade depends on the complexity of the task, your technical skills, and the level of customization you desire.
When to Hire a Professional
Hiring a professional is prudent for extensive renovations or installing complex systems, like an advanced RV awning. Electrical and plumbing modifications often require expertise to ensure safety and compliance with standards. If I’m facing a situation where precision and guarantee of work are paramount, entrusting the job to a certified technician brings peace of mind.
DIY Installation Tips
When undertaking a DIY upgrade, I focus on tasks within my skill set, such as simple fixture replacements or aesthetic enhancements. Familiarizing myself with RV-specific challenges is crucial; for example, dealing with RV awning issues can be tricky, so I ensure I have detailed guides on-hand. My tips are:
- Plan Ahead: Measure twice, purchase once. Gather all necessary materials before starting the project.
- Use Lightweight Materials: In a moving vehicle, every pound matters. I opt for materials that offer both durability and lightness.
- Waterproof Solutions: Since water damage in an RV can be catastrophic, I ensure all bathroom surfaces are waterproof.
- Invest in Quality Tools: High-quality tools can differentiate between a frustrating experience and a seamless installation.





Leave a Reply