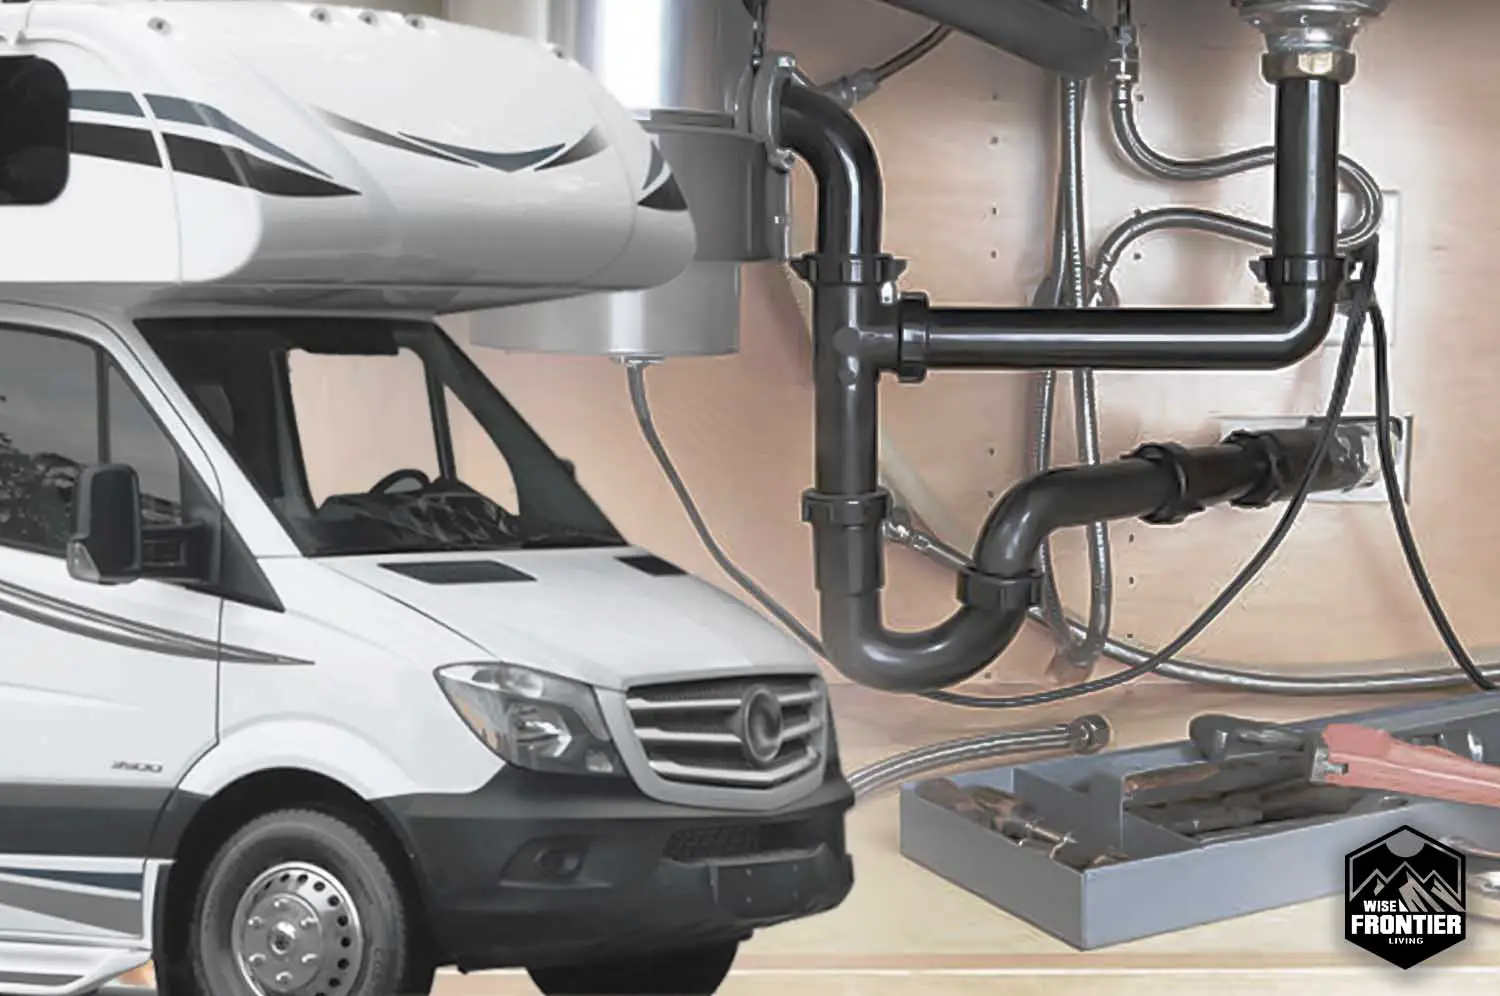
If you own an RV, a leaky kitchen sink is probably one of the most annoying problems you could encounter. If you have an RV kitchen sink leaking underneath, do not worry. With more than 15 years of hands-on experience in plumbing under my belt, I’ve tackled numerous projects and challenges, albeit as a skilled enthusiast rather than a licensed professional.
There can be several reasons why your RV sink is leaking underneath. It can be because of the fittings, or the faucet itself may start to fail. Or it could even not be a leak at all and just some condensation causing the dripping water.
In this guide, you will learn all you need to know about this quite annoying but fixable problem.
Common Issues That Cause A Leak
Before diving into how you can fix the leaks, it is important to know what the more common causes are in the first place. Then you will have an easier time tracing the problem as well.
Speaking of tracing the problem, more about that a bit later. There is a whole section dedicated to it. For now, let’s focus on some common causes.
- Leaking From The Faucet
A leaky faucet is a very common problem. And also, one of the most easily noticeable. The way a sink is designed is that the faucet connects to the main plumbing line. If this connection is not solid, that is when leaks can happen.
You might see dripping water from your faucet even if it is turned off. A bad connection is not the only reason why your faucet can start to leak.
Rubber washers and seals are used to control the water flow. If these fail to cover the water inlet, this can cause leaking too!
- Leak from Plumbing Fittings (Hot/Cold Water Line)
There are obviously various fittings connecting your sink with the water system of your RV. These fittings can come loose over time due to wear, rust, and vibrations.
Improper fitting installation can also cause them to become loose prematurely. And this can cause your RV sink to sag because of due to prolonged water exposure.
If you are lucky, then tightening the fittings can solve the issue. That is unless they are not damaged beyond repair.
- Leak from The Strainer Basket
The strainer basket is there to filter out large debris like food bits or any other large particles that should not go down the drain. It is a very important safety measure.
The strainer sits between the sink’s hole and your drain pipe. If the strainer becomes loose around the edge, then water can seep into the gap and escape from going into the pipe. And then the water will be running down the pipes causing leaks.
- Leak from a Worn-out Seal around Sink and Faucet
An old seal anywhere in your sink can be a weak point. You will find them in various places around your RV sink. Such as, around the edges of the sink, at the base of faucets, underneath the strainer, etc.
A good seal and workmanship will last for a while. But anything that has a seal also has the chance of getting old and losing its effectiveness.
And when the seal stops doing its job that is when you see leaks! Worn-out seals can be due to poor maintenance, low-quality seals, or just poor craftsmanship.
- Leak From the Drain Pipe
Another point of leak can be from the drainpipe itself. The drainpipe can leak if it is damaged or, if it is not installed properly. Since the drainage system is under the sink, you will have water drippage underneath.
- Too Much Condensation
Condensation is not technically a leak. Air contains moisture. The air outside is usually warmer compared to the water inside your RV sink/cabinet. And that is when you may see small droplets of water dripping from your RV kitchen.
The source of a water leak can be very tricky to identify sometimes. Water can travel along pipes and surfaces making you think the source of the leak is somewhere else.
Make sure to inspect underneath your sink very carefully with a flashlight. You may need to have someone turn on the faucet to run the water and splash it around as you inspect underneath.
How to Trace the Source of The Leak?
As you can see, leaks can occur from multiple areas of your RV sink. So, finding the actual source is definitely your next primary objective. You can easily do it with a simple feel test with your finger.
First, run some water through your faucet. Now, drag your finger around the base of the faucet where it connects to the sink. If it’s all dry there then move to the pipes and linings underneath.
Start by dragging your finger around the spot where the supply pipe meets the faucet.
Then drag it along the pipe and check every valve, fitting, and seal along the way.
Next, it’s time to check the drainage line. Start by checking around the sink’s drainage hole then drag your finger down the drainage pipes. You should find your leak in any one of these routes.
Tips on How to Repair the Leak
If you want a quick fix, there are some tips and tricks you can apply to get the job done. And if you are into DIY with some experience, a minor leak can be fixed by yourself.
However, for major leaks and difficult fixes, it is best to seek professional help. Here are some tips to help you get started though.
Turn the Water Off
The first and foremost rule is to turn the water off. You can turn the water off by disabling the tap or valve. This way, you will have the freedom to go in and start tinkering.
You do need to first find the source of the leak, though. Otherwise, you will not know which failed part is causing the problem in the first place.
Always Double Check Seals
Remember to always double-check any seals. Ensure that they are tightly secured so that you do not have to deal with shoddy workmanship.
Check the exact specifications of the fittings and O-rings beforehand as well. This will help you pick out the right parts for it.
Put Things Back Like They Were Before
After any DIY repair job on your RV sink, make sure to put things back the way they were. That means all covers, fittings, seals, and caps should be put on correctly. Basically, just go in reverse.
You should not leave the job half done. A well-polished repair job will go a long way and will save you the headache of having to deal with leaks sooner than expected.
What Tools Do I Need?
There are some must-have tools when it comes to RV sink repair. These tools make it easy and efficient to fix any kind of sink leak without having to pay a professional. If you want to stock up on some tools, here are some parts that should be in your repair kit.
- Screwdrivers
- Allen Key
- Compression fittings (Sharkbite)
- Pipe sealant
- Adjustable pliers
- Rags for checking water leakage
- Adjustable wrenches
- PEX tubing crimper
- Pipe plugs and clamps
- PEX tubing and fittings
Recommended Replacement Parts
When it comes to picking out replacement parts, buying the highest quality parts is always recommended. This will ensure that your RV sinks keep running leak-free for years.
High-quality fittings like this one from Flair-It can last long if you take care of it. If you have issues with your drainer basket then I would recommend getting the Master Plumber drainer basket.
High-quality seals are important too to prevent leaks. There are plenty of good quality seals in the market. But I personally use Gorilla Waterproof Seal. It’s one of the if not the most popular sealing products in the market. And for very good reasons.
And one of my top recommendations is push-on compression fittings. I’ve been using them for over 9 years and they haven’t failed and are still going strong.
A Compression fitting is a coupling-looking device that you push onto your water supply lines to make a connection. This device allows you to connect water lines without having to solder or use Cross-linked polyethylene(Pex) crimping tools. My 2 brand is Sharkbite. I can’t say enough good things about this product. Even the pros love it!
What If I Don’t Fix The Leak Right Away?
The general rule of thumb is to fix any leaks you find as soon as possible. Water leaking from underneath your sink can cause the floor bedding to get damaged. Some other issues that can result from a leaky sink are –
- Wood warping
- Mold
- Wood rotting
- Foul odors
- Rusting
So, if you see a leak, fixing it urgently is always the best way to go about it. Do not procrastinate here.
How To Get My RV Serviced?
Servicing your RV should be done routinely. Preferably at least once a year. Doing it around the start of spring is a pretty good idea.
Professionals will help you maintain your RV’s condition much better. You can do routine maintenance by yourself. Things like checking the tires, electronics, lug nuts, and generators are not too much of a hassle.
Of course, checking for leaks and the plumbing system’s health is important too! If the problem is minor, like a leaky faucet, do not bother with professional service. You can do it yourself. However, for severe cases, a professional service center might do a better job.
Wrapping Up
There you have it. Now that you know the causes of the RV kitchen sink leaking underneath, and how to fix it, you should be able to get rid of your issue in no time. Remember to service your RV regularly.
This will help you maintain the long-term health of your RV.