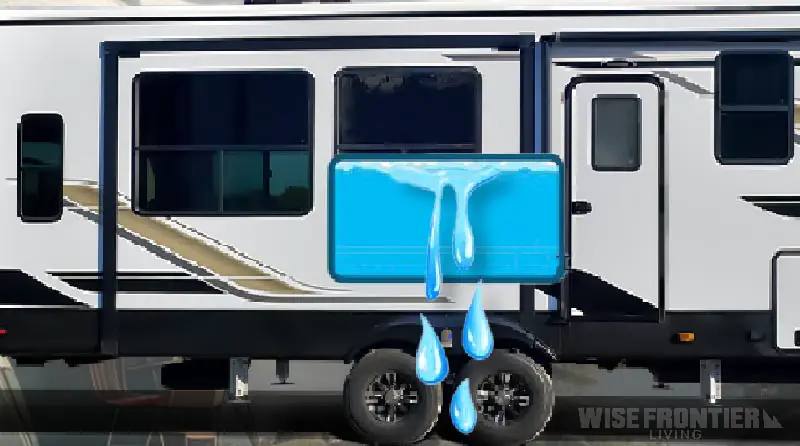
We’ve all had those head-scratching moments on the road, and a full RV black tank leaking can surely top that list.
As someone who has been RVing for a couple of years, these problems are not new to me. Read on as I walk you through all the troubleshooting steps.
Key Takeaway:
Leaks in RV black tanks when full occur due to damaged fittings, tank cracks, or deteriorated seals. To fix, inspect, and tighten fittings, weld minor tank cracks, replace damaged components, and renew compromised seals. Regular maintenance and inspections can prevent future leaks.
In this article, I’m diving into why RV black tanks can sometimes spring leaks when they’re full, giving you insider insights on what might be causing this issue and how you can prevent it. Let’s get your road trips back on track with a worry-free ride.

| Causes: | Fixes: |
| Wear and tear in fittings or valves | Inspect all fittings and valves for damages. |
| Vibration while moving the RV | Tighten loose fittings with a wrench or pliers. |
| Poor installation of fittings or valves | Replace damaged valves and ensure a watertight seal. |
| Cracks in the tank due to age | Empty and clean the tank, then use a plastic welding kit for minor cracks. |
| Stress or freezing temperatures | For significant damage or unrepairable cracks, replace the tank. |
| Sun’s rays deteriorating seals | Check all seals and replace if they appear old or damaged. |
| Strong cleaning chemicals affecting seals | Clean the affected area and then apply new seals. |
| Big changes in weather weakening seals | Strengthen using sealing products like EternaBond. |
Why RV Black Tank Leaks When Full And How To Fix It:
Reason-1: Damaged Fittings or Valves
CAUSE:
Fittings and valves are crucial to your RV’s black tank. Over time, these components face challenges.
Whether it’s due to the normal wear and tear, the constant vibration while on the move, or perhaps an installation that wasn’t top-notch, these problems can cause leaks.
Awareness of these issues is essential to maintain a leak-free RV.
FIX:
Start by conducting a thorough inspection of all fittings and valves. Look for signs of damage or any indications they might be loose. If you spot any issues, here’s what to do:
- For loose fittings, grab a wrench or pair of pliers. Tighten them up. But remember, don’t overdo it. You don’t want to cause further damage.
- If you find a damaged valve, it’s time for a replacement. Choose the right match for your RV and swap out the faulty valve.
- When working on these fittings and valves, ensuring a watertight seal is essential. Utilize gaskets or plumbers tape where needed.
Sometimes, what you put into the tank matters as much as its physical integrity. Did you know you could even use baking soda in your RV black tank? It’s an eco-friendly method to maintain the system and prevent potential leak causes.
Reason-2: Cracks in the Tank
CAUSE:
The heart of your RV’s waste system is the black tank. Typically crafted from ABS or polyethylene plastic, these tanks are sturdy but not invincible.
Cracks can form with age, enduring stress, or falling victim to freezing temperatures. And when they do, they’re a menace. When your tank fills up, the pressure rises, turning these cracks into potential leak points.
FIX:
Spotted a crack? Don’t panic. Here’s a step-by-step guide to set things right:
- Drain and Clean – First and foremost, empty the tank. Make sure you clean the area surrounding the crack. A clean surface ensures better adhesion for repairs.
- Small Cracks Solution – A plastic welding kit will be your best friend if the crack is minor. Pick one designed for either ABS or polyethylene, depending on your tank’s material. Delve into the instructions provided and apply the repair method. Precision is key here.
- Addressing Larger Issues – Sometimes, the damage is just too extensive. If the crack is significant or the tank seems beyond repair, it’s time for a replacement. Ensure your new tank matches the original – ABS or polyethylene.
With these steps, you can address the issue head-on.
While we’re on tank care, you might wonder about another annoying situation – how to get dried poop out of an RV tank. Trust me; it’s a problem no one wants but can arise. Get ahead of such issues with the proper knowledge.
Reason-3: Deteriorated Seals
CAUSE:
Seals are small but crucial components in your RV’s waste system to ensure everything stays pressurized and leak-free. Yet, just like any other part, they can wear out.
There are a few reasons:
- The sun’s rays can wear them out.
- Some cleaning chemicals are too strong and can hurt them.
- Significant changes in weather, like hot days and cold nights, can also weaken the seals.
FIX:
Here’s a simple plan to help:
- Look Carefully – Check all the seals. Look at the ones around the connections, vents, and valves. If they have cracks or look old, they might need fixing.
- Clean Them – Before putting on new seals or fixing the old ones, make sure the area is clean. This helps the new seals stick better.
- Get New Seals – If a seal looks too old or damaged, get a new one. It’s essential to pick a good quality seal made for RVs.
- Add Extra Protection – Use special sealing products, like EternaBond, to make them even stronger.
Speaking of RV water systems, if you get a new tank, it’s essential to understand water consumption to prevent overfilling. If you’ve ever wondered how long water will last in an RV, we’ve got an insightful article to guide you.
What To Do When Your RV Black Tank Leaks
Identify the Source
Your first step in managing an RV black tank leak is to find out where the leak is coming from. Start by thoroughly inspecting your black tank, fittings, valves, and seals.
The goal is to spot the exact spot causing trouble. Before moving on to the repair stage, ensure the area is completely dry. It not only ensures safety but also effectiveness in the subsequent repair processes.
Choose the Right Method
Once you’ve nailed down the source of the problem, it’s time to decide how to address it.
Ask yourself, is this a minor issue that just needs a quick fix?
Or is it something more severe, demanding a lasting solution or even a replacement? Your decision can save you time, money, and further complications.
Temporary Fixes
Sometimes, a temporary solution can do the trick, especially if you’re on the road or far from professional help.
For situations like this, adhesive products like GOOP, available on Amazon, can be very handy.
They provide quick fixes to prevent the leak from worsening.
Another go-to for many RV enthusiasts is EternaBond tape. It’s versatile and can be slapped onto leaks in seals, connections, or even minor cracks.
Permanent Repairs
However, if you’re seeking a more lasting solution for those pesky small cracks, a plastic welding kit tailored for ABS or polyethylene tanks can be a robust solution.
If bonding is what’s needed, plastic glues can ensure a firm hold. These options offer more durability and ensure that the same problem doesn’t crop up soon.
Replacement Consideration
Now, there could be situations where the damage to the black tank goes beyond simple repairs. Maybe the wear is too extensive, or the crack is in a position that makes patching it up unfeasible. A complete RV black tank replacement will be the best option in such cases.
For instance, you can get a new black tank like this 40 gallon RV black tank (available on Amazon)
If you do decide to go down this road, remember to opt for a tank crafted from the same material as your original – be it ABS or polyethylene.
Lastly, if nothing really works out then it’s best to seek professional advice for support and maintenance.
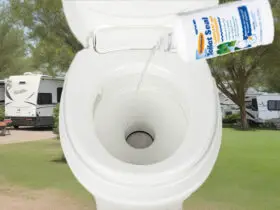
Now, choosing the right fixtures for your RV extends beyond just the tank. Check out our guide on porcelain vs. plastic RV toilets to know which is more reliable and better.
Prevention and Maintenance
Regular maintenance can save you a lot of hassle down the line. Make it a routine to inspect your fittings, valves, seals, and, of course, the tank itself for any signs of wear or impending damage.
And don’t forget the importance of cleanliness. After every use, take the time to clean the black tank. This helps keep things sanitary and goes a long way in preventing unwanted buildups that can cause leaks in the future.
By the way, some RV owners have also faced peculiar challenges like RV toilet spraying water from the bowl when flushed. Understanding the causes and solutions in advance can help prevent any issues.
Final Thoughts Before You Go
While a leaky RV black tank can be a source of stress, knowing how to address it can make a world of difference.
Whether you opt for a temporary fix, a permanent solution, or a complete replacement, the key is acting quickly and wisely. Never underestimate the value of regular maintenance; it can save many headaches down the line.
Stay tuned for our future posts, as we often bring RV maintenance and repair-related content that can help you save time and money.







Leave a Reply